Blog  /  7 Steps to Help you Create the Perfect Plasma Speaker

7 Steps to Help you Create the Perfect Plasma Speaker

OurPCB excels in providing PCB manufacturing services that are essential when building high-quality plasma speakers. With their expertise, enthusiasts can obtain precisely designed printed circuit boards crucial for the effective functioning of plasma speakers. This ensures a reliable foundation for creating advanced audio devices.
Quote Form
check whiteFast Turnaround check whiteISO Certified
1 2 3

Plasma speakers don't function in the same manner as traditional speakers. Unlike a conventional speaker diaphragm, the plasma speaker uses a modified carbon arc to produce sound. The best part about them is that you can quickly build them.

There are plenty of people who've gone ahead and made the plasma speaker by themselves. Creating them isn't as hard as you may imagine. The following are seven steps to building plasma speakers.

7 Steps to Help you Create the Perfect plasma speaker

(The boards you will use play a very vital role in your plasma speaker)


1.Gathering the Right Plasma Speaker Materials


Obtaining the right materials is the first step in building a plasma speaker. Without the right materials, you'll not be able to make a well-functioning plasma speaker. There are plenty of tools that you'll need here.

Some of them include diodes, timer chips, flyback transformers, capacitors, and a printed circuit board. Other materials include a Veroboard and a breadboard for testing. Before assembling your plasma speaker, ensure that you've gathered all the right materials.

With all the elements, you'll save a lot on time. You won't have to move up and down, trying to find missing parts.


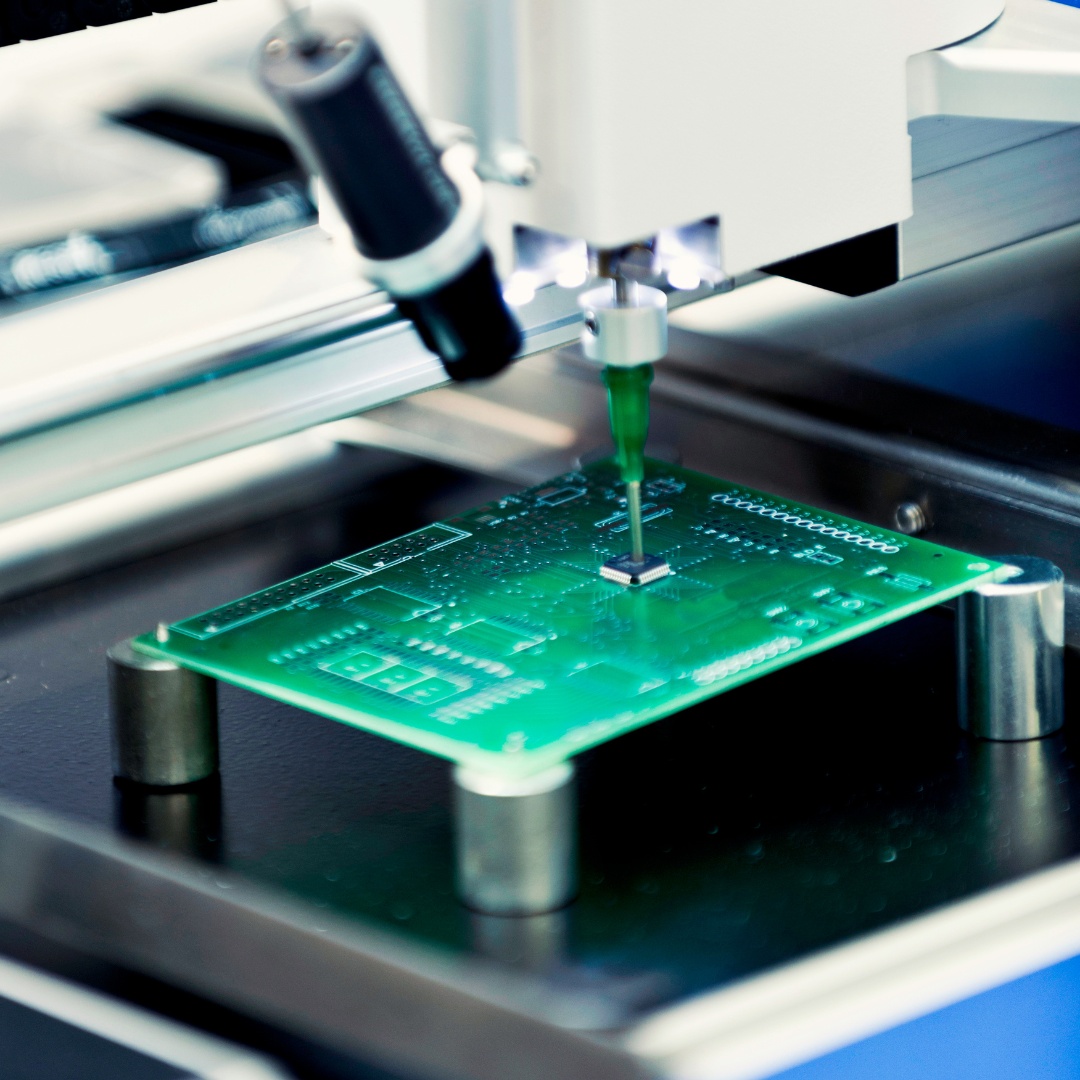
Choose the right plasma speaker material

(Choose the right plasma speaker material)

2.The Plasma Speaker Schematics


A schematic is a simple line drawing that engineers use to describe where each component will fit in technical fields. Schematics or a drawing finds a lot of use in electronic circuits.

When designing plasma speakers, a drawing of components arrangement is the next step. With the drawing, you'll be able to determine where every part will fit. You'll be in an excellent position to determine where the PCBs will go, where the transistors will fit, and where every other task and parts of the component will fit. Having a drawing is the second step towards building the plasma speaker.


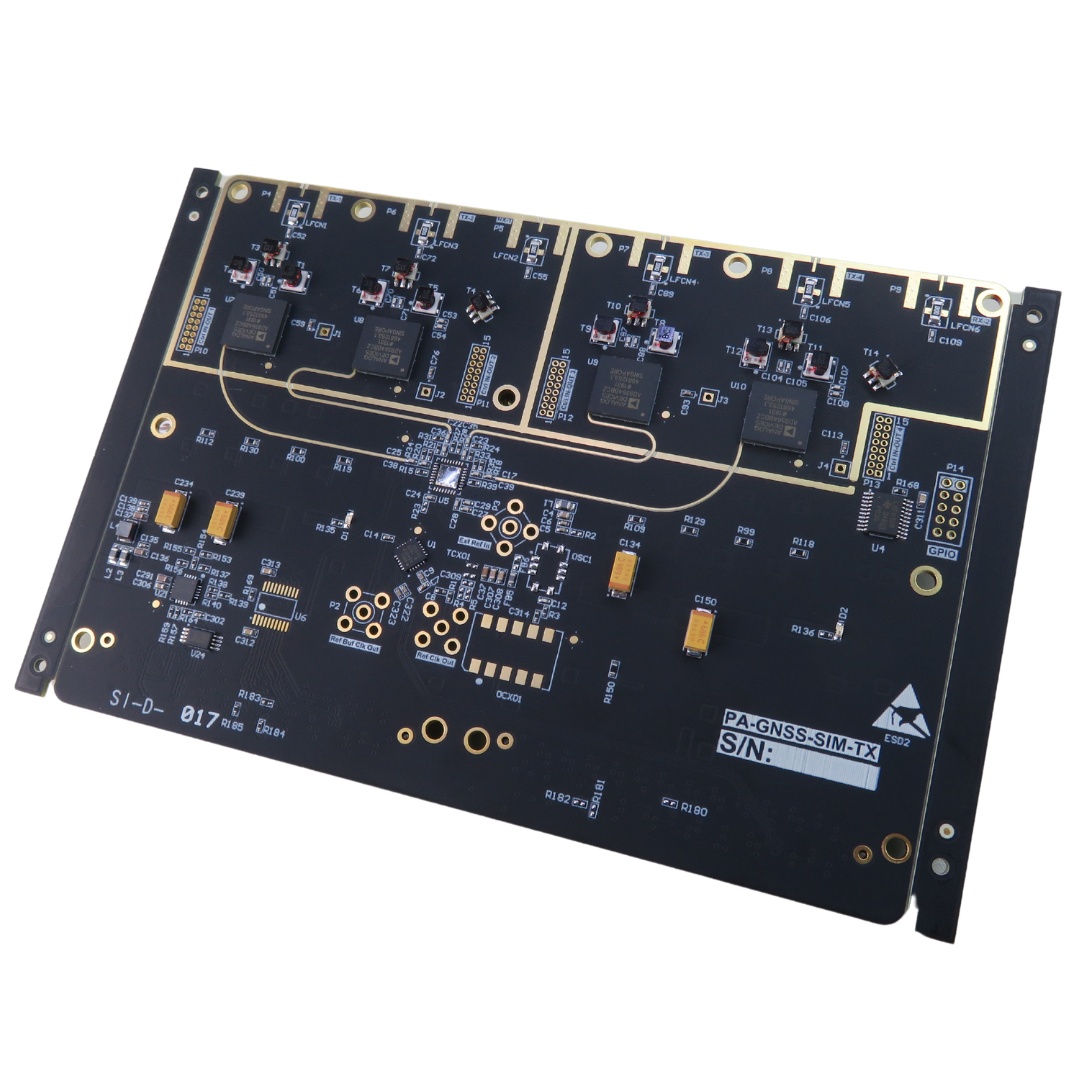
PCB schematics that you will likely use in your Plasma speakers

(PCB schematics that you will likely use in your Plasma speakers)


3.Building the Prototype on the Breadboard


The third step after schematics is building the circuit on the breadboard. But why build on the breadboard on not directly onto the Veroboard? The reason for this is simple. It's better to build on the breadboard first because:

  • You'll get a better idea of how to make a real speaker on Veroboard.
  • You'll be in a position to determine whether all the components work well. If not, you can easily replace them.
  • You can tweak or modify the circuit a bit to bring about better performance to the plasma speaker.

After building the prototype of the breadboard, you can now move to the next step. Something ideal about the prototype is that it enables you to make a small version of the final product.

Additionally, with a prototype, you'll be able to identify mistakes early. This way, you will be avoiding costly errors, especially undertaking full production.


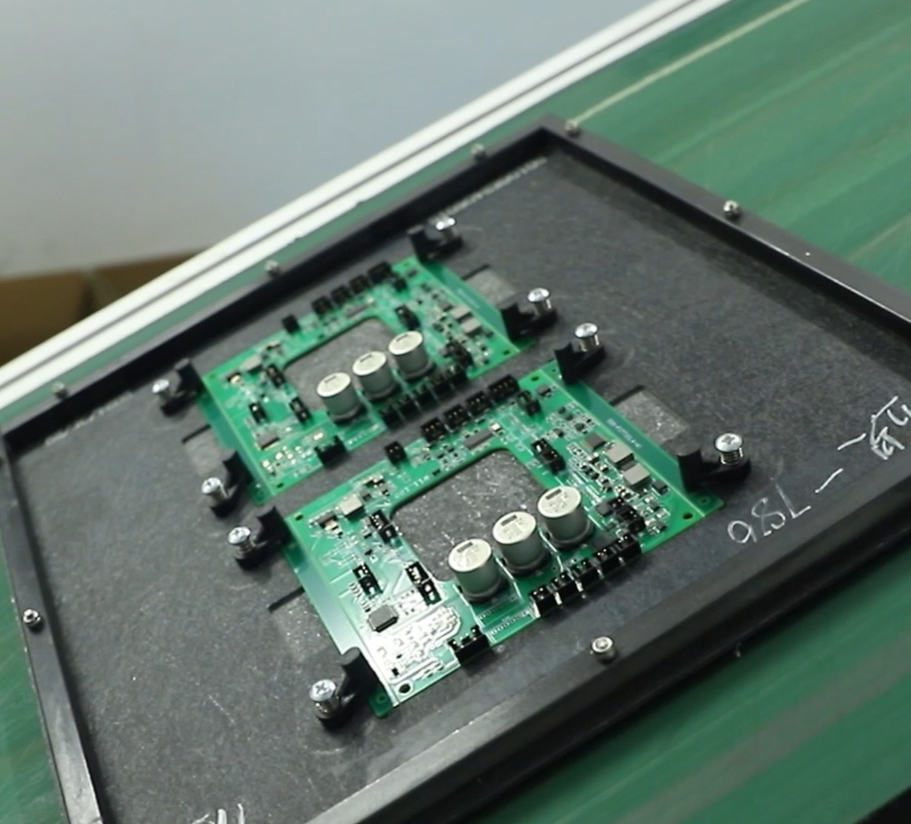
A sample of a Veroboard compatible with Plasma speaker components

(A sample of a Veroboard compatible with Plasma speaker components)


Special Offer: Get $100 off your order!

Enjoy $100 off your order! No hidden fees and no minimum order quantity required.
Email [email protected] to get started!

4.Testing the Plasma Speaker Prototype


Testing the plasma speaker prototype is the fourth step towards building your plasma speaker. After you develop your prototype, you must test it for functionality. If it doesn't work, don't be frustrated. Just go back and check your entire circuit once again.

Make sure that you check for missing connections. Ensure that the components and all the other parts have proper links to the board. By testing the prototype, there's the identification of any errors and faults in the speaker.

If your prototype works correctly after the test, it's time to move to the next step. If you follow all the instructions correctly, then you will not encounter a lot of difficulties here.


Testing your plasma speaker prototype is very crucial before proceeding to build and assembly(Testing your plasma speaker prototype is very crucial before proceeding to build and assembly)


5.Build the Plasma Speaker


Now, this is an essential part. It involves the actual building of the plasma speaker. Building your plasma speaker is the fifth step. After testing the prototype and ensuring that everything is fine, begin building the speaker on the Veroboard.

It's advisable to use sockets for IC's as such won't damage from heat during soldering. Better yet, if the IC's don't function, you can easily replace them instead of desoldering them. Therefore, you will be able to save a lot of time and other unnecessary costs. It is also advisable to add an LED indicator to the circuit. A LED indicator is perfect as it will notify you whether the circuit is off or on. To do this, connect the LED indicator to the TL494's power supply line.

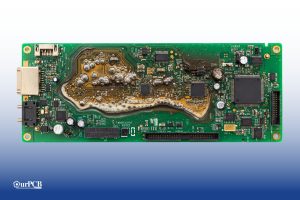
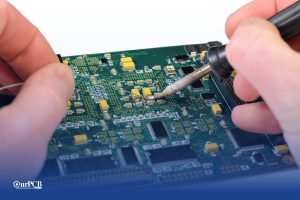
After completing the soldering process, ensure that you make nice solder joints. Also, be on the lookout towards the avoidance of solder bridges on the printed circuit board. Solder bridging on your PCB may negatively impact the functionality of your plasma speakers. When building the plasma speaker, make sure that the PCB on it functions as desired.


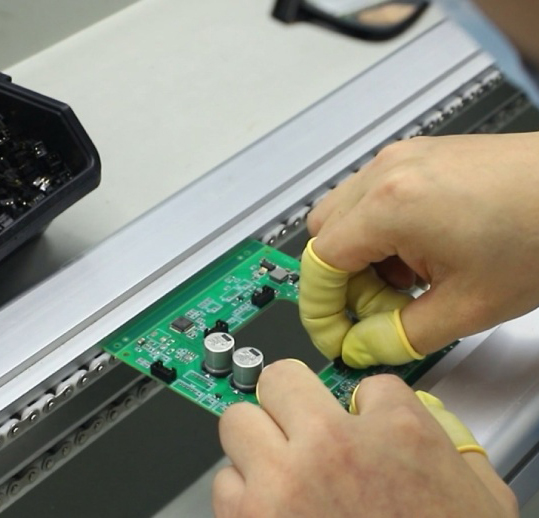
Assembling and building your PCB for the Plasma speakers

(Assembling and building your PCB for the Plasma speakers)


6.Components Insertion to Frame


Now, you are almost close. The sixth step involves the insertion of components to the frame. Of course, when building your plasma speaker, you'll need something to hold all of its components in one place.

It would be best if you had a frame or a box to keep everything intact. Without a structure, some parts may fall off, especially when in use. Depending on the size of your plasma speaker, you'll need to find a frame that properly holds all the parts. If your plasma speaker is enormous, then you'll have to invest in a large frame.

Luckily enough, there are several frames available in the market for sale. If you are on a budget, you can still build a structure for yourself. Here, you will require simple tools such as a hammer, nails, wood, and a saw to cut everything into shape.

After you've inserted all the components on the frame, then you can move to the final step of building your plasma speaker. Additionally, a shell or a project box protects individuals from an electrical shock when the speaker is in use.


7.Final Testing of the Plasma Speaker


The final examination of your plasma speakers is the last step. After you have inserted all the components on the frame, now test it. Testing your plasma speaker lets you know whether the speaker functions or not. If the plasma speaker functions, then you can breathe a sigh of relief. But if it's not working, again, don't get frustrated. Just go back and check for a few things, such as:

  • Solder bridge errors – This one of the most common problems encountered in soldering
  • Damaged components
  • Missing connections – Missing connections is also another common problem that you need to check out.

Attempt to find the issues and fix them. There's no point in you to give up.


Test the speakers and see if the electrodes will produce any music

(Test the speakers and see if the electrodes will produce any music)


Summary


All the electronic components that we use today, plasma speakers included, contain printed circuit boards. Without printed circuit boards, plasma speakers will not function as intended. Printed circuit boards make all the connections possible.

Do you want to build a plasma arc speaker? If so, besides all the components that you'll require, a PCB is a must to have. Unfortunately, many manufacturers of plasma speakers don't know where to source the best-printed circuit boards. If you are one of them and you are here, count yourself lucky.

If you need the best and high-quality PCBs for your plasma speakers, then we at OurPCB can help. We have the best PCBs in the market. We've supplied some of the best printed circuit boards to plasma speakers manufacturers for more than a decade. If you are in the market for the best-printed circuit boards, look no further than those produced by OurPCB.


Special Offer: Get $100 off your order!

Enjoy $100 off your order! No hidden fees and no minimum order quantity required.
Email [email protected] to get started!
Hommer Zhao

Hommer Zhao, based in Shenzhen, China, founded OurPCB in 2005, a PCB Manufacturing company.

As a regular contributor to Circuit World and the Journal of Manufacturing Systems, Hommer shares expertise on advanced PCB fabrication processes. His research on manufacturing optimization appears in the International Journal of Production Research and Journal of Industrial Information Integration.

Serving on the Indian Printed Circuit Association (IPCA) advisory board, Hommer Zhao frequently presents at technical seminars and industry exhibitions. He maintains strong partnerships with leading institutions including UCL's Electronic Engineering Department and their PCB prototyping facilities. Under his leadership, OurPCB has pioneered enhanced PCB manufacturing machining capabilities for high-precision PCB manufacturing, particularly serving telecommunications, automotive, and medical device sectors.

Table of Contents

Related Post